Confluence 是适合远程操作的团队工作空间,可有效融合知识与协作。
Confluence是面向simple的高机能的企业wiki,生成内容,可以讨论的知识管理工具。 团队之间共享项目、文档、文件、想法、记事、式样、图、尺寸模型等信息。
最新版推荐阅读:Centos8 安装Confluence 8.2 图文详细教程
目录
环境准备
- Centos 8.5 X64
- Mysql 8.0
- Confluence 7.15
1、更换yum(centos8官方源已下线,建议切换centos-vault源)
#删除原来的
rm -rvf /etc/yum.repos.d/*
#下载新的
wget -O /etc/yum.repos.d/CentOS-Base.repo https://mirrors.aliyun.com/repo/Centos-vault-8.5.2111.repo
#生成缓存
yum makecache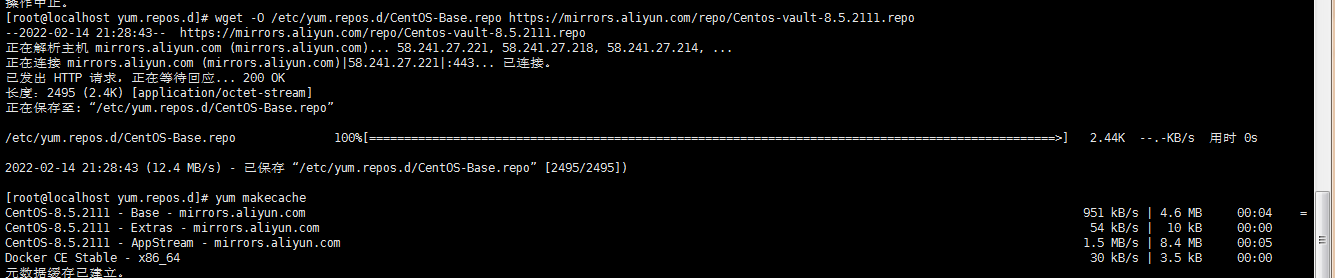
2、安装语言支持
yum install -y dejavu-sans-fonts3、安装mysql-server
yum install mysql-server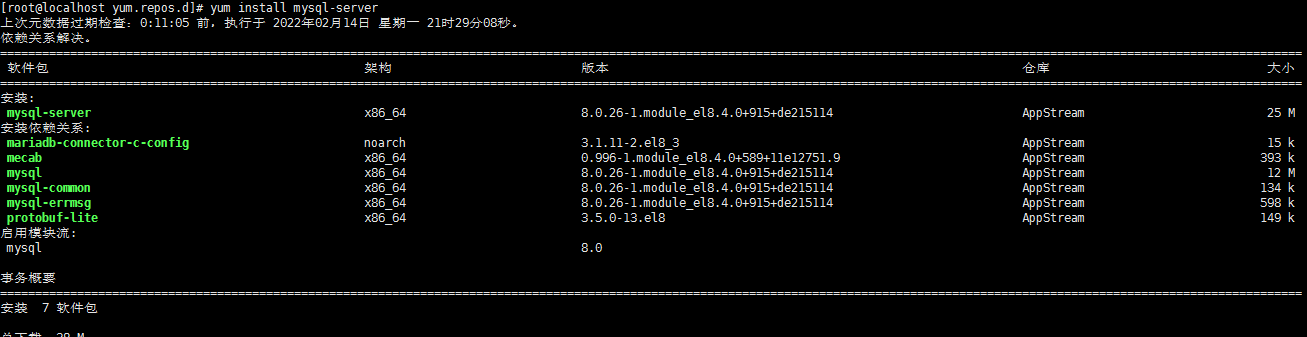
4、配置数据库
#开机自启
systemctl enable mysqld
#下载数据库配置文件
wget -O /etc/my.cnf.d/mysql-server.cnf https://yun.ittel.cn:1443/f/3e0bbb6aceda430690f2/?dl=1
#启动数据库
systemctl start mysqld
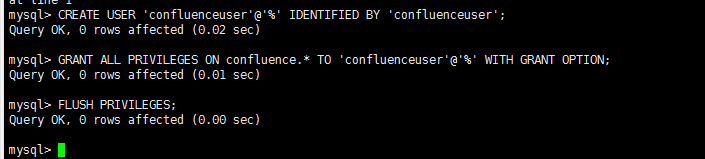
创建数据库
CREATE USER 'confluenceuser'@'%' IDENTIFIED BY 'confluenceuser';
CREATE DATABASE confluence CHARACTER SET utf8mb4 COLLATE utf8mb4_bin;
GRANT ALL PRIVILEGES ON confluence.* TO 'confluenceuser'@'%' WITH GRANT OPTION;
FLUSH PRIVILEGES;
安装Confluence 7.15 免费版
1、下载并安装Confluence 7.15
cd /opt && wget -O atlassian-confluence-7.15.0-x64.bin https://yun.ittel.cn:1443/f/de83ee4e612243c39d8c/?dl=1 && chmod 777 atlassian-confluence-7.15.0-x64.bin && sudo ./atlassian-confluence-7.15.0-x64.bin

日志输出如下:
完毕!
Regenerating the font cache
Fonts and fontconfig have been installed
Unpacking JRE ...
Starting Installer ...

This will install Confluence 7.15.0 on your computer.
OK [o, Enter], Cancel [c] #回车确认
lick Next to continue, or Cancel to exit Setup.

Choose the appropriate installation or upgrade option.
Please choose one of the following:
Express Install (uses default settings) [1],
Custom Install (recommended for advanced users) [2, Enter],
Upgrade an existing Confluence installation [3]
2 #选择2


Select the folder where you would like Confluence 7.15.0 to be installed,
then click Next.
Where should Confluence 7.15.0 be installed?
[/opt/atlassian/confluence]
#默认即可,回车

Default location for Confluence data
[/var/atlassian/application-data/confluence]
#默认即可,回车

Configure which ports Confluence will use.
Confluence requires two TCP ports that are not being used by any other
applications on this machine. The HTTP port is where you will access
Confluence through your browser. The Control port is used to Startup and
Shutdown Confluence.
Use default ports (HTTP: 8090, Control: 8000) - Recommended [1, Enter], Set custom value for HTTP and Control ports [2]
#默认即可,回车

Confluence can be run in the background.
You may choose to run Confluence as a service, which means it will start
automatically whenever the computer restarts.
Install Confluence as Service?
Yes [y, Enter], No [n]
y #确定y

Extracting files ...


Please wait a few moments while we configure Confluence.

Installation of Confluence 7.15.0 is complete
Start Confluence now?
Yes [y, Enter], No [n]
n #n,先不要启动

Installation of Confluence 7.15.0 is complete
Finishing installation ...
[root@localhost opt]#
2、配置Confluence 7.15环境
#下载JDBC Drivers
wget -O /opt/atlassian/confluence/confluence/WEB-INF/lib/mysql-connector-java-8.0.22.jar https://yun.ittel.cn:1443/f/c76da4515c094b5b9b8e/?dl=1
#下载试用补丁
wget -O /opt/atlassian/confluence/bin/Crack.jar https://yun.ittel.cn:1443/f/39249738e69c49db8491/?dl=1
#加到启动里面
sed -i '$a export JAVA_OPTS="-javaagent:/opt/atlassian/confluence/bin/Crack.jar ${JAVA_OPTS}"' /opt/atlassian/confluence/bin/setenv.sh
3、启动服务
#关闭防火墙
systemctl stop firewalld
systemctl disable firewalld
#启动
/opt/atlassian/confluence/bin/start-confluence.sh
4、打开网页进行配置
网址:http://IP:8090/setup/setupstart.action
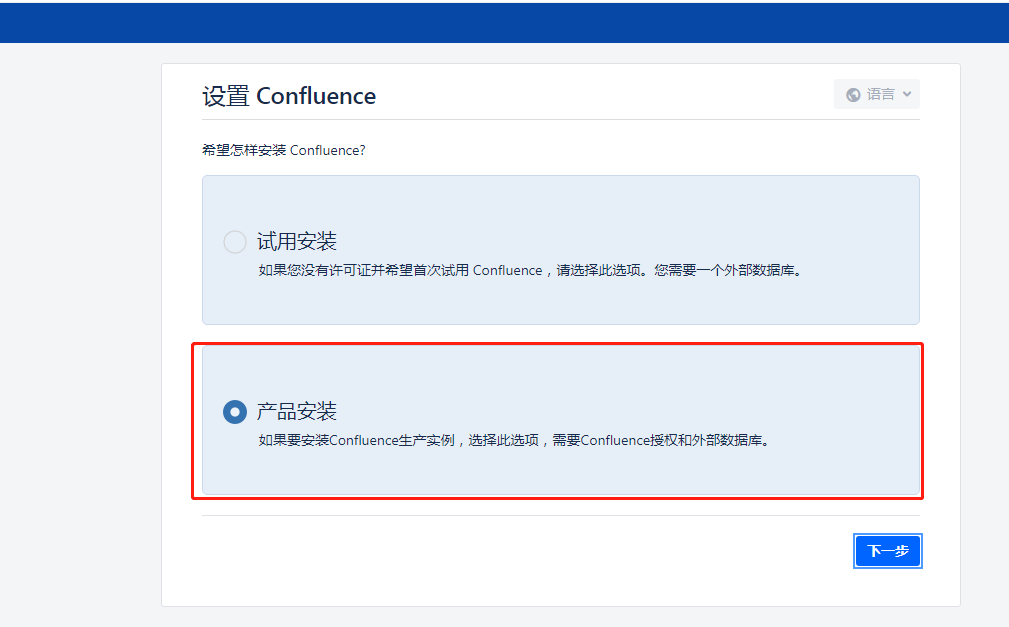
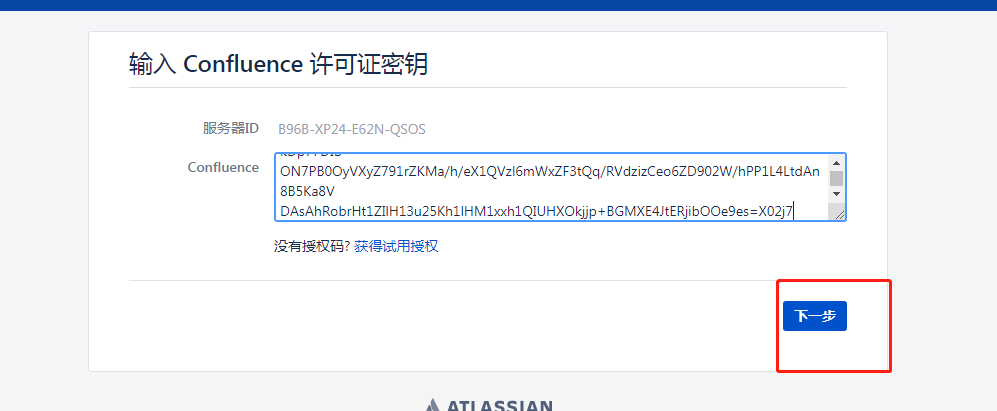
输入许可(本文最后有生成方法)
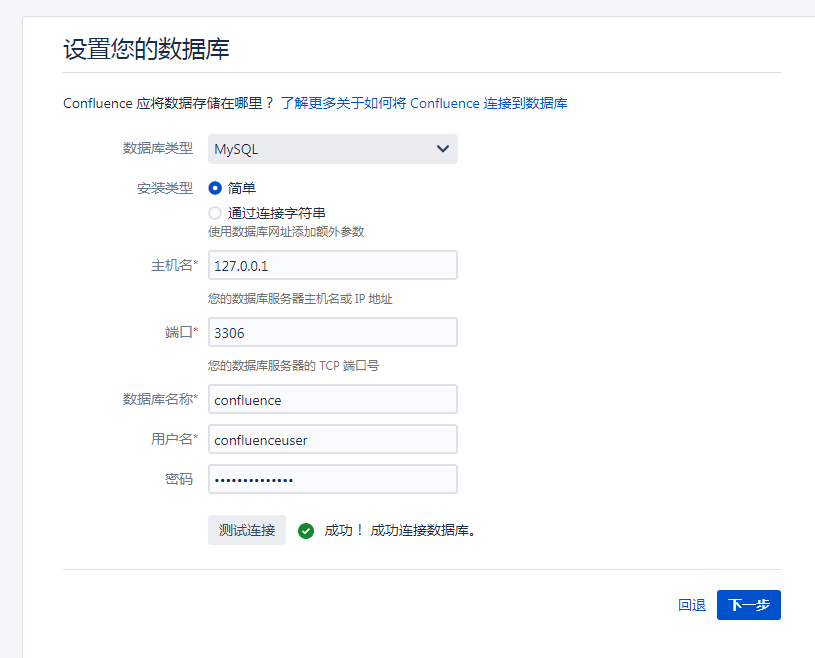
输入之前设置的数据库信息
5、安装激活完成,Enjoy
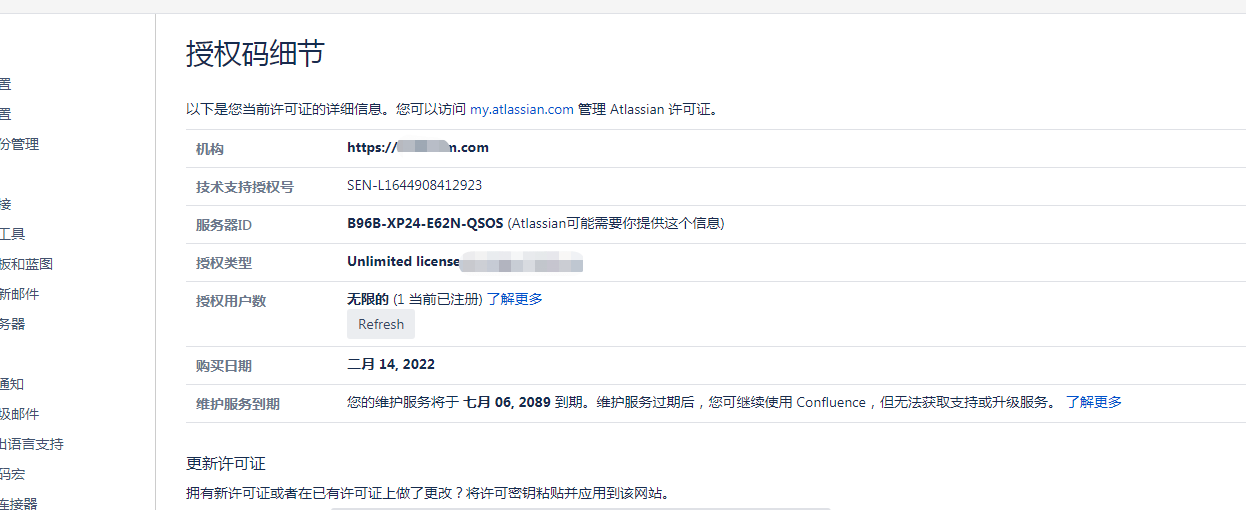

生成许可方法
技术支持
需要安装,支持,插件安装可以联系我
 微信扫一扫打赏
 支付宝扫一扫打赏

怎么出现
java -jar Crack.jar line 1: $’PK\003\004′: command not found
说明你的java版本不兼容,用java 8
安装了java version “1.8.0_351″,还是一样:
是不是你下载的Crack.jar不完整啊
可以了
数据库密码在哪设置的
confluence的用户是手动建的,root用户的密码默认安装完毕是空。
感谢您,另外我是用ubuntu2204 配置的,连接数据库测试成功,点击下一步设置数据库时失败
发生如下错误:
求助您一下,如何解决,跟之前的mysql-server.cnf 是否有关系,我看ubuntu里面没有对应目录,我是放到了/etc/mysql/mysql.conf.d 下面
看上去是权限不够 “You do not have the SUPER privilege and binary logging is enabled “
十分感谢,一语惊醒,我拷贝mysql-server.cnf 后没有重启mysql服务,我把我这个目录下的其他cnf 文件改名备份了,重启mysql 之后就可以了
这个软件系统很好用,谢谢分享!
ubuntu 能安吗
可以,confluence是二进制安装的。但是环境配置的命令可能不一样了。